My project for today is slightly different from the previous 4. This project is linked to the Craft March Challenge in a way; I've done a video tutorial on how you can make a 13 petal 3D flower with a button center. (This tutorial was long over due and I'm glad to have finally done it).
Used the same flower with a different center for this card too. I had done about 150 of these flowers for a baby announcement project in 2011 :D
Video Tutorial
Pictures and Instructions (for those who can't access the video)
1. Cut out 13, 1" hearts. Each heart will be used for the petals. (Heart is not a must, can be any shape that is broad on the top and narrow at the base)
2. Cut out a rough circle; this will work as the flower base.
3. Shape the petals using a stick or any smooth surface object.
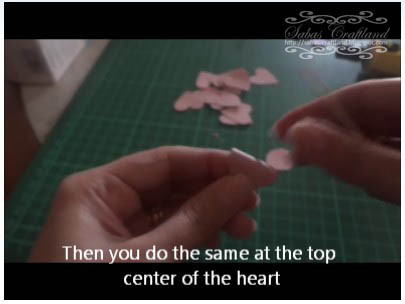
- to shape first wrap and roll one side of the heart half way
- then the other side
- then do the same at the top center
- then dent the petal in the center so that it sits up
- repeat for all 13 petals
4. Glue down the petals. 2 on opposite side, and then 2 on the remaining sides. Like a cross. This is your first layer with 4 petals.
5. repeat the same to form the second layer and then the third layer
this is what it looks like after the 3rd layer completes:
6. Position and glue the last two petals to balance the flower.
Now take a button and glue it to the center.
Your flower is ready
Happy Crafting!


This flower is really cute. Would love to learn the technique..
ReplyDelete