
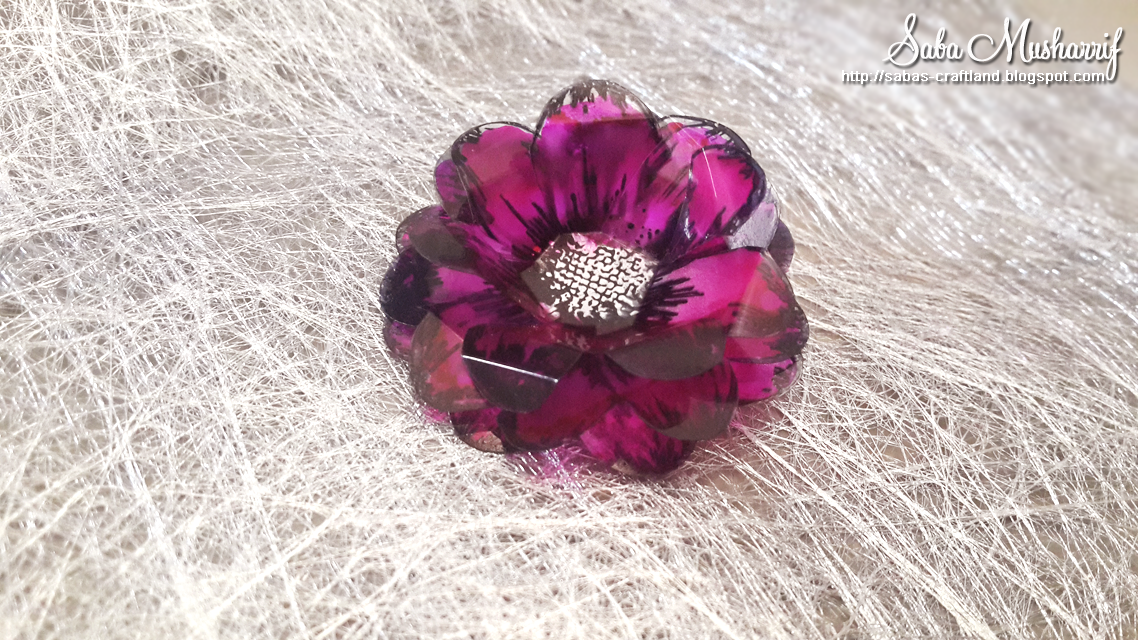
Lets get started, supplies required:

Alcohol Ink: Raspberry (or any other color of your choice)
Alcohol Ink Mixative: Silver (or any other)
StazOn Ink: Black
Stamp: Bo Bunny Floral Stamp
Acetate Sheet
Paint brush
Plastic Palette or something similar
Scissors
Glue
Step 1: Ink up your stamp with StazOn, and carefully stamp out 3 images of the same flower, with the same stamp. (Use StazOn because it works with non-porous surfaces, unlike other inks.)
 |
| The stamped acetate |
Step 2: Once dry, flip the stamped acetate, and color the reverse image with Raspberry. Be sure to color the petals ONLY. If you want a lighter shade, mix a few droplets of ink with blending solution, and color using a brush, that is what I did. Otherwise, apply the ink directly, and use the brush to control it.
 |
| The ink mixed with blending solution |
 |
| Coloring the petals with a brush |
Step 3: When the petals have dried, add a drop of mixative to the center, and spread it, with outward strokes. Remember, that you are coloring the reverse side of the stamped image, so don't panic if the mixative covers the stamped details.
 |
| Add a drop of mixative |
 |
| Spread the mixative |
Step 4: Using scissors, cut out the flowers by following the outline. Then, separate each petal by following its outline, without detaching it from the center. The cut out flowers should look something like the the picture below.
Place the flowers, stamped side up, so that all the details of the stamped image are visible. (This is one of the reasons why we color/ink the reverse side)
 |
| Cutout flowers with the stamped side up |
*From this point forward we work on the flowers with the stamped side up.*
 |
| Bending the petal inwards |
 |
| Bending the petal tips back |
Step 6: Take the second flower, and shape it, by gently bending the tips of the petals outwards, and slightly bending the petal inwards. Unlike the first flower, you will only bend the petals in, half way, so that they aren't flat.
 |
| Bending the tips of the petal outwards |
 |
| L-R: Layer one or top layer, Layer 2 or middle layer, Layer 3 or the base layer. |
 |
| The assembled flower |
 |
| mounted on a brooch pin |
 |
| The gorgeous brooch |
Happy Crafting!


