Showing posts with label baby. Show all posts

Saturday, June 14, 2014

Scrapbook: Baby Girl

My first post for this month is about a Baby Girl themed scrapbook which was successfully completed and couriered to the client, at a time when havoc struck my beautiful city. That is the beauty of Karachi, it never stops, keeps going!
Well, coming back to the post, so here it is!
 The lettering on the cover is chipboard, which has been inked and glittered.

The Highlights

The Tooth Book 

So this time round, instead of spreading the "tooth chronicles" across the page, I designed and then stitched together this little tooth book, which has ample space to not just note dates, but, other interesting details too. It can be removed and placed back easily.


The Booties!

And how could a baby girl scrapbook be complete without the little booties! Added a pair of two 1" booties to the milestones. It is difficult working with such a small size, but I managed. Embellished them with dusty pink, inked flowers, and white rhinestones.


The Bath

There just had to be a page dedicated to the first bath with all the little ducks and bubbles. 
Once again the frame is removable and has room for a picture, and a journalling tag.

The Complete Scrapbook


And that's not all folks!

The Bag

The beautiful bag for presenting the scrapbook


and that is about it!
Thank you for all the love,
Happy Crafting!

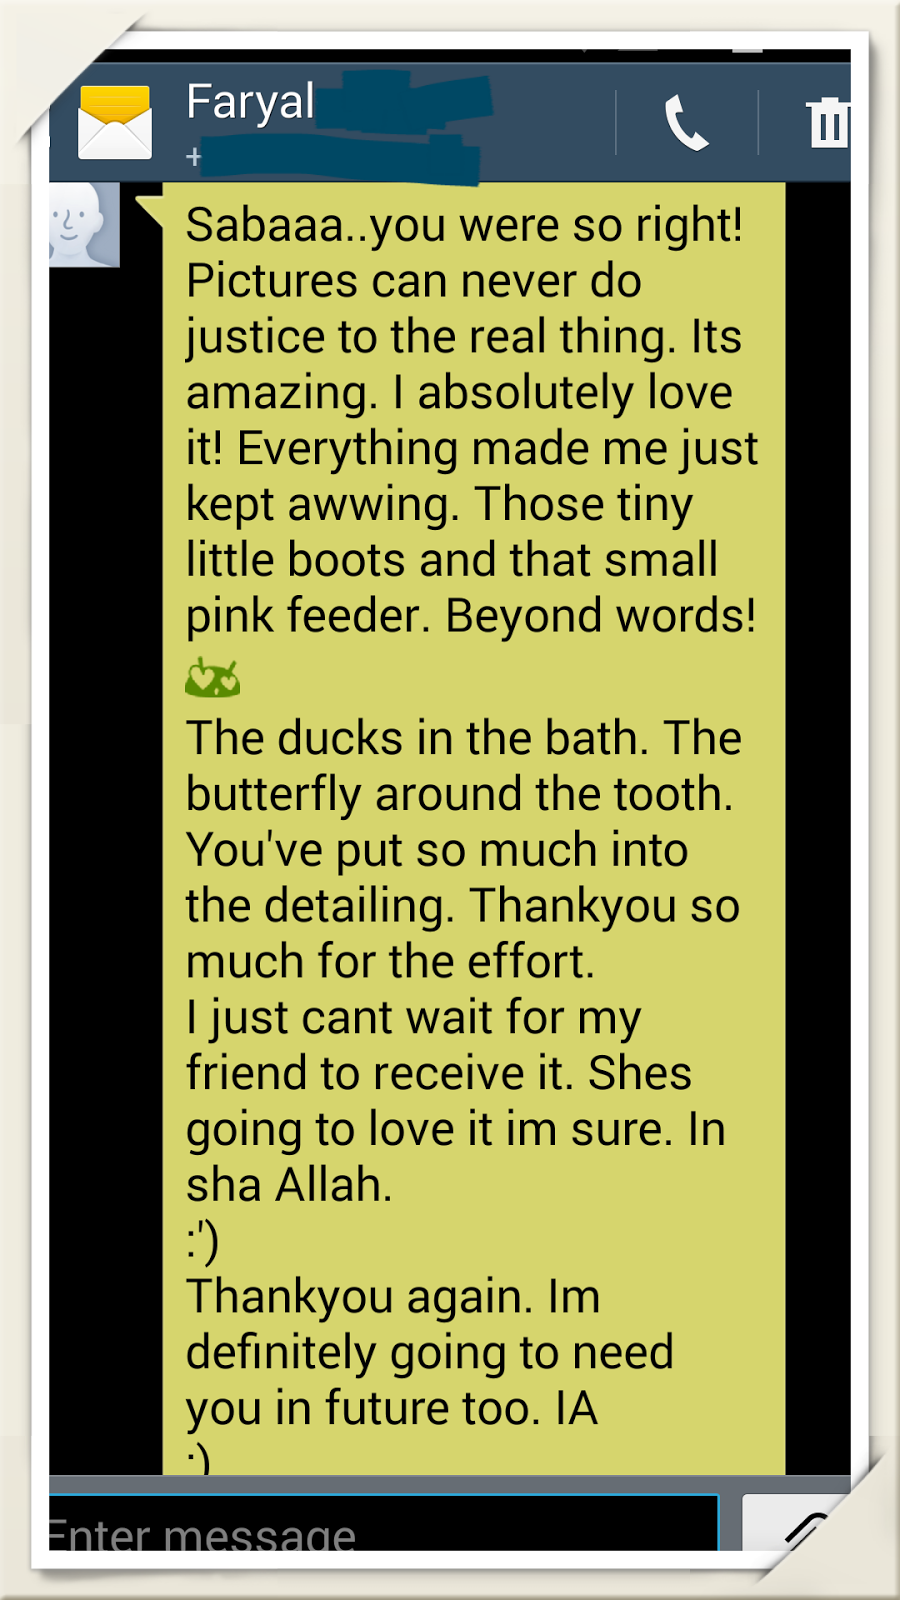
Sharing the love recieved :)


Saturday, May 31, 2014

Scrapbook: Baby Boy


Today, I am sharing a scrapbook (memory book), custom made for little Asjad who flew into this world early May.
I usually do 6x6 scrapbooks, but this was 6x8, so that there is plenty of space for documentation.

The Highlights:

Rocking Horse Layout


This was/is by far my favorite page. I have been wanting to use this stamp since forever, and I finally did.
Also added a small chest of drawers here :), which was inspired by a card, I once saw online.

The Birth Certificate

The next interesting piece is the birth certificate which is mounted on a small handmade booklet. The certificate holds all the birth details, and inside, there is lots of space for journalling.


Wishes

The client had requested sufficient space for writing wishes for the little one. So this is what I designed :)

The Complete Scrapbook

And here is the entire scrapbook, page by page:


And that is about it,
Happy Crafting!

Sunday, May 11, 2014

Oh Baby!

Beautiful cloudy Sunday (minus the heat) to share one of my latest projects. Its a bright colored 6 inch x 6 inch Baby scrapbook done for an awesome client.

   
I've done Baby themed scrapbooks before but this one was particularly challenging because, firstly, the baby's gender was not known, and secondly it had to be bright. [For me working with bright colors is a challenge always :D] What helped, a lot, was the clients complete faith and trust in me.

The cover, I usually do in the end, but this time it was the first piece worked on. Lots of bright colors there which basically gave a preview of what will follow.

The Special Touches

Toe Tag Milestones

I designed and added in about 10 colorful tags for documenting those very important milestones.

Flipping Photo Mats

These are so cute! you pull on the base tag and the rest of them flip one by one. The photo holders or corners, as they might be called, are based on the events that follow birth. So the adhaan, the aqeeqa and all, are documented here.


The Tooth Chronicles!

There is a slot of every tooth that appeared and ... disappeared :D

The Complete Scrapbook

and here is the complete scrapbook


The client loved it,
hope you all enjoy it too!

Happy Crafting!

Thursday, October 18, 2012

The Quilled Pram

Today's post is dedicated to give everyone an understanding of the amount of effort and time that goes into making all those cute little things for the tiny new comers; and in the process make clear why Favors & More's products are defined as 'Exclusively handcrafted'.

The focus will be on the Quilled Prams that we recently did on some 70+ baby boy announcement favors for a very happy mom-to-be.


It looks simple, with nothing much to it right? But when you actually get down to making these, it takes minimum 15 minutes on each pram -note: the time stated is just for the pram, does not include the assemby of favor boxes and other details-.

Please understand that nothing used on these prams (except for the acrylic pacifier) is ready made.

What we start off with is a plain sheet of cardstock -yes cardstock not paper-; and cut it into the desired shape. We end up with something like this -reminds me of pac man :) -

Once that is done, each piece is individually dry embossed by hand. Which takes times ofcourse, but gives the desired detail.
The above was a bit difficult to capture, so this is the best the best pic.
Now that the simple part is over, we come to the quilling part. What we start off with are called quilling strips, over 220 in this case:

 Each of these is quilled to form the wheels, and the handle of the pram.


  Once that is done and the ends secured, the wheels are added to the prams
This is like 60% of the job done (with respect to the embellishment). After this, the prams are added the favor boxes, and further embellished with a bow, pacifier and handle. I was too tired to take pictures of those as I proceeded.

So you see, when at Favors & More we say 

'exclusively hand crafted' 

we mean it!


Here is the finished product:

and here is what makes it all worth it:
"Saba, the boxes are so adorable i love them...it shows all the hardwork thank you so much...next time i will be contacting for (other) themes inshallah" ~ Mrs. Arzak
Here are some other similar prams that we have done:

 According to my mom; "each is a piece of art"

Happy crafting! =)

Wednesday, September 28, 2011

Baby Booties Card

Peace be with you!

I must admit that I enjoy working on baby projects the most, and here is one of my recently completed projects. Its a 3.75" card done in pink and white and embellished with two mini booties :D
Most of the cards that I have done for babies either have prams on them or rattles; I wanted to do something different and challenging for this one though. And it looks so cute!

So before we get into the details here is what the completed card looks like :)

This is a fairly simple card to make, and the booties are the only challenging part :P... so the idea of adding cardstock booties was basically inspired by the booty favor boxes which were the 'IN' thing some time back. I found a template for these at "love bug scrapbooking", which I used as the source and worked on further to get the size that suited by project best. (Since the link to love bug scrapbooking is broken, you can download the template here. updated 31 Jan 2014. If you are still unable to access it, please let me know)


The booties I used on this baby girl card are no less than an inch. I had an option of whether to use paper or cardstock for doing these. Paper is definitely a lot easier to cut and mold BUT given that this is a card, which would surely be placed in an envelope and would go in many hands I wanted to ensure that the booties retain their original shape and therefore I used heavy cardstock (around 110). Since these were really small embellishing them was quite a task. To avoid making a mess, I added a bow to each and outlined it in silver. For the clasps I used puff paint. Once the booties were done the rest was fairly simple.


Layer the patterned paper as desired, and glue it on. If you do not have patterned paper of your own, you can always create some using stamps, paints, markers, crayons etc the options are endless. I made my own patterned paper for this project using acrylic stamps.


OK, so as you can see above the booties were placed on a dry embossed scalloped circle and embellished with organza and satin ribbon ... and Tada! you have a totally awesome card :)

For further queries and tips email sabascraftland@gmail.com
for purchase write to us at favorsmore@gmail.com or visit Favors & More.
Related Posts Plugin for WordPress, Blogger...