Showing posts with label pink. Show all posts

Saturday, June 14, 2014

Scrapbook: Baby Girl

My first post for this month is about a Baby Girl themed scrapbook which was successfully completed and couriered to the client, at a time when havoc struck my beautiful city. That is the beauty of Karachi, it never stops, keeps going!
Well, coming back to the post, so here it is!
 The lettering on the cover is chipboard, which has been inked and glittered.

The Highlights

The Tooth Book 

So this time round, instead of spreading the "tooth chronicles" across the page, I designed and then stitched together this little tooth book, which has ample space to not just note dates, but, other interesting details too. It can be removed and placed back easily.


The Booties!

And how could a baby girl scrapbook be complete without the little booties! Added a pair of two 1" booties to the milestones. It is difficult working with such a small size, but I managed. Embellished them with dusty pink, inked flowers, and white rhinestones.


The Bath

There just had to be a page dedicated to the first bath with all the little ducks and bubbles. 
Once again the frame is removable and has room for a picture, and a journalling tag.

The Complete Scrapbook


And that's not all folks!

The Bag

The beautiful bag for presenting the scrapbook


and that is about it!
Thank you for all the love,
Happy Crafting!

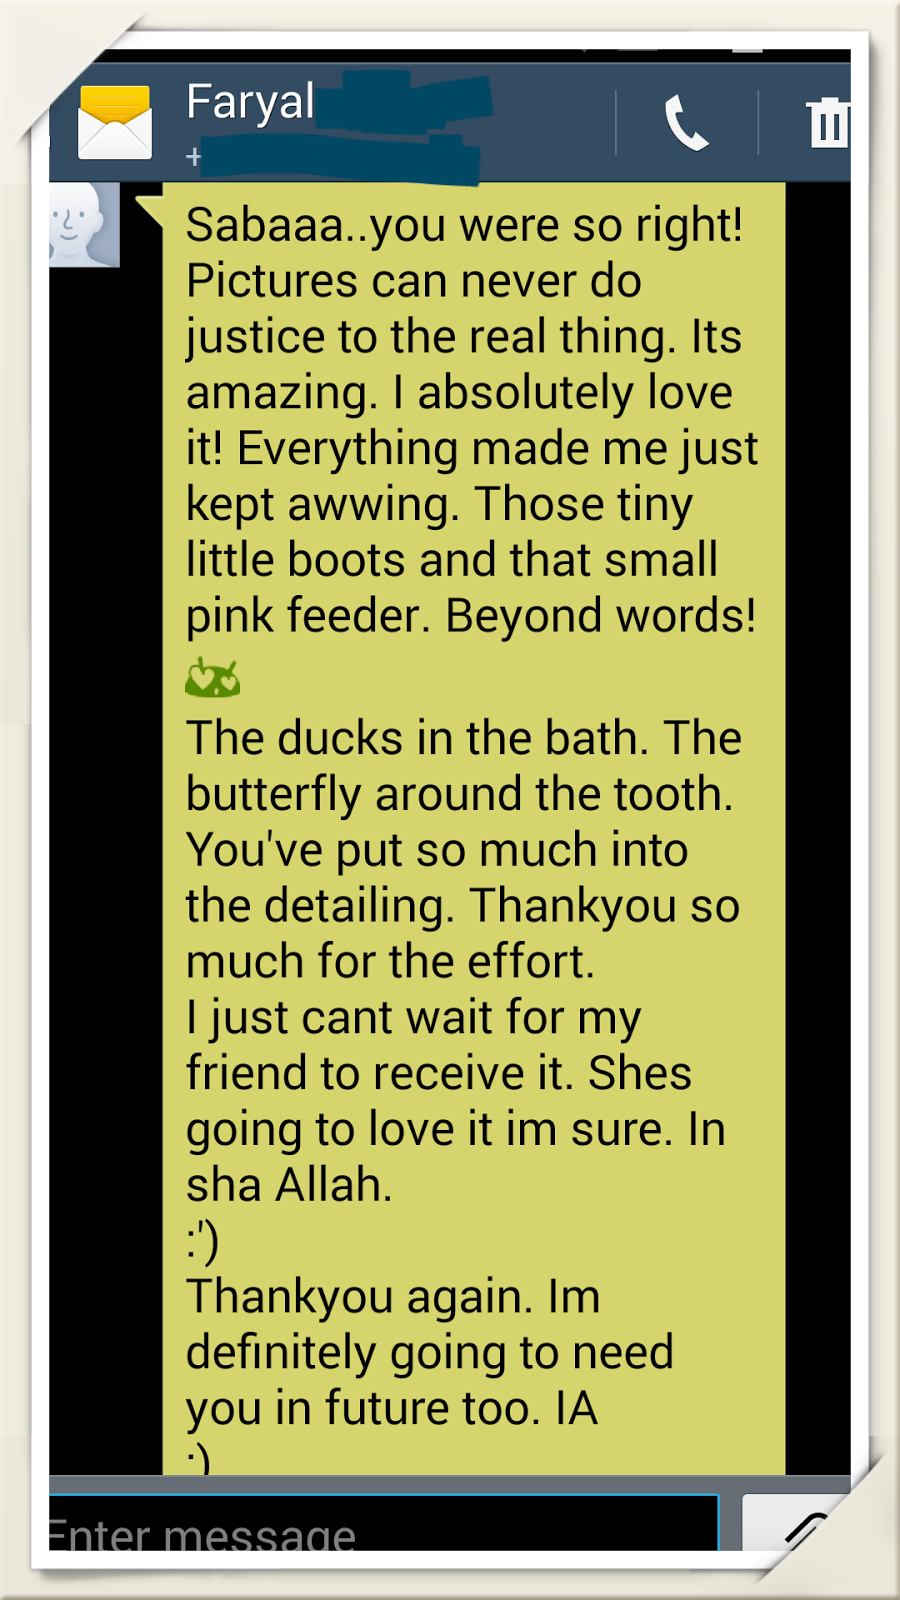
Sharing the love recieved :)


Wednesday, August 28, 2013

Graduation Scrapbook - Pink

Today, I have a very good reason to post -- after 6 months! and the reason is, a recently completed graduation plus pink themed scrapbook. There are a number of reasons why I want to talk about it, the first and foremost being that it was completed in no more than 24 hours! Impressive isn't it.
 

I love to take on challenges and when I was approached by the client requesting a scrapbook (along with a couple of other products) for a graduation ceremony, but being short of time (we had 4 days to roll out the order keeping a day for courier), I just took it on because this was going to be a very special occasion for their loved one. {and just FYI -- this does not mean that I can roll out orders on such short notices all the time :) , this was one of those one time things}

"The client called once they had received it and in their words "I am impressed with your work." They loved everything and were very happy, and I ofcourse was super happy to know that."

The requirements were very simple, it was for a girl, had to be pink and themed for graduation. There were two layouts that the client chose from our previously completed projects which they wanted incorporated in this scrapbook.

This was going to be a 6" chipboard scrapbook, bound with rings. (I got the base and rings from Many Happy Returns, love their prompt service)


Treating the alphas and leaving them to dry, was the first thing I did. Next I chose all co-ordinating cardstock and prepared the base layer for all 12 sides.

After that was done, I had a rough idea of how I was going to execute this and proceeded page by page. The ideas kept pouring in and the hands kept working :).

The Special Touches:

This entire scrapbook is very special, I made sure that there was lots of room for journalling and pictures.

1. The Booklet

On page one (the one on the left) a removable booklet was added where notes or comments or any kind of journalling regarding the framed picture (picture to be added) on the opposite page may be noted.
  
  
Each page on the booklet was hand stamped, and inked.  The booklet can be easily removed and placed back securely.

2. Removable Tags:

All the tags that you see in the scrapbook are removable. The blank ones are meant for photos while the others are meant for journalling, however, it is the the recipients wish how they would like to utilize them. An example here:


3. Secret Journalling Spots

Understanding that not everything is meant for everyone to read, "secret journalling spots" were added all through the album with magnetic closure or tricky closures that keep the contents a secret ;)


4. The Gown

The gown and cap - The one thing that differentiates a graduation ceremony from all the others. I diecut this chipboard dress form and adorned it with a dress (as this was meant for UK), a gown and cap -hand cut-. Oh, I added some pearls too; seemed incomplete without a string of pearls. Needless to say, I loved the result. The gown holds a removable tag securely in place.

The Complete Scrapbook:


had lots of fun working on this.

Happy Crafting!

Saturday, March 9, 2013

Craft March: Project 7 - "Enjoy"

As the 7th project for March I put together a very simple and easy card, "Enjoy".


Done on a white base with hot pink layered with brown inch-ies, further layered with yellow and green polka dot cardstock.


This has turned out to be a very warm and fun card. Love it!

Happy Crafting!

Tuesday, March 5, 2013

Craft March: Project 4 - Just Because

Inspired by Pockets
Challenge - I wanted to do a card without using any printed cardstock and this is what I did.
You can create some beautiful cards using simple plain cardstock too


White base, layered with off white (.25" shorter) and 3 bright pink cardstock pieces (divide the size of the 2nd layer by 3 and reduce each piece further by .25" approx). Die cuts layer the pockets on each side.
Faux stitching on each pocket to add detail.


Happy Crafting

Related Posts Plugin for WordPress, Blogger...